Showing posts with label Holiday. Show all posts

06 April 2012

Early Bunny Holiday....

Happy Easter everyone!! Hope you all have a good holiday weekend! Enjoy!


Images from Pinterest; weheartit; Patterson Maker

23 December 2011

Holiday Greetings....

Merry Christmas & a Happy New Year everyone! Hope all your holiday wishes are going well. Enjoy!


Images from Pinterest

15 December 2011

Holiday Gift Ideas - Travels from Coach....

...just a little over a week to go before Christmas. I just can't believe it. All my shopping is done, but I'm sure there are some of you that are still looking for the right gift to give that love one or friend. Here are some gift ideas for that travel girl out there. Enjoy!

1) Fur Stole
2) Madison Leather Lindsey Satchel
3) Boyfriend Rose Gold Strap Watch
4) Coach Travels Multi Mix Key Ring
5) Madison Patent Lindsey Satchel
6) Abigail Flat Shoes


Images from Coach

13 December 2011

Holiday Entertaining - Sugar Cookies....

So I was having trouble with making sugar cookies. I know, I know. It's sugar cookies how hard could it be. Well, let's just say I couldn't find a good one until now. This recipe is from the Williams-Sonoma Holiday Entertaining book. Great book! However, I did have to modify the recipe a little. It had NO vanilla in the recipe! Who doesn't that?! My hubby said, "It's not a sugar cookie without vanilla in it." I have to agree with him. The vanilla made the cookie. Also, I didn't want a cookie that was made with shortening. (Yuck!) But these cookies were just what I was looking for. So I had to share. Happy baking! Enjoy!


Sugar Cookies

Make about 36 cookies (depends on the size of cookie)

2/3 cup unsalted butter, at room temperature
½ cup granulated sugar
1 large egg
1 teaspoon vanilla
1 ¾ cups all-purpose flour (plain)
½ teaspoon baking powder
¼ teaspoon salt

Preheat oven to 400 degrees. Have ready 2 baking sheets with parchment paper or ungreased.

In a food processor, combine the butter and granulated sugar and pulse until creamy.
Add the egg and vanilla and pulse 5 or 6 times until fluffy and blended.
In a small bowl, whisk together the flour, baking powder, and salt.
Add one-third of the flour mixture to the food processor and process until blended, about 45 seconds.
Add the remaining flour in two batches, processing after each addition, until dough is smooth.

Note: It doesn’t have this in the original recipe, but you should refrigerate the dough for 20 minutes or so. This way the dough will be easier to work with and not so sticky cause it’s too warm. So after the dough is smooth, turn out the dough onto some paste wrap and separate the dough into two disks. Then refrigerate.

Turn the dough out onto a well-floured work surface, shape into a ball, and then roll out 1/8 inch think.
Using cookie cutters, cut the dough into desired shapes.
Then, using a spatula, transfer the cutouts to the baking sheets. Gather up the dough scraps and repeat the process to make more cookie cutouts to add to the baking sheets.

Bake until lightly browned on the bottom and pale golden on top, 6-8 minutes.
Transfer to wire racks and let cool on the baking sheets for 5 minutes. Then transfer to the racks to cool completely.

Note: Remember to decorate with sprinkles before going into the oven. Or decorate the cooled cookies with Royal Icing.


Image from Me; Recipe from Williams-Sononma cookbooks at Barns & Noble

07 December 2011

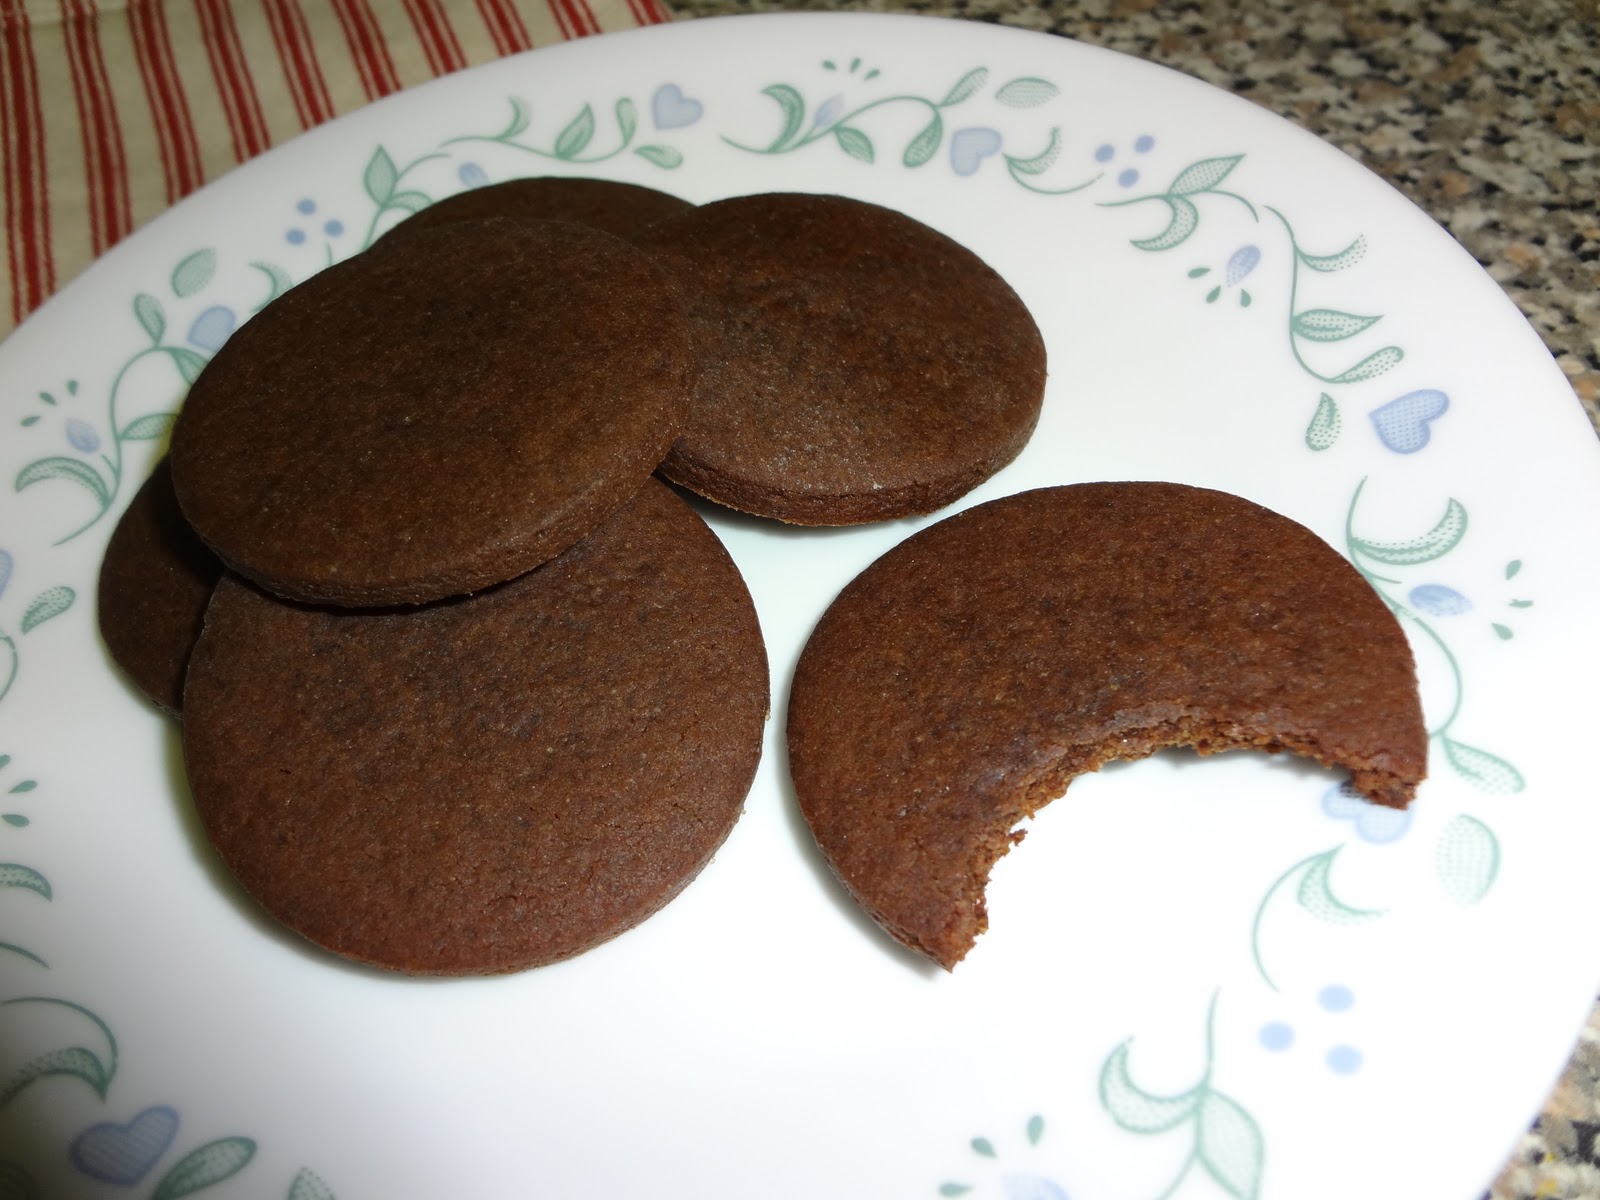
Chocolate-Peppermint Heaven....

So I was thinking about what types of Christmas cookies to make this year.  I'll still make gingerbread, but I wanted to try something new.  I remembered there was a cookie in the Martha Stewart Holiday Cookie magazine last year that I wanted to try.  It looks just like a Thin Mint cookie but covered with white chocolate.  Lets just say that after making this cookie tonight, I have finally found the recipe for making Thin Mint cookies!!  The only thing is I didn't have any white/dark chocolate to cover the cookie.  So it's plain, but it tastes so good!!  And... I've already eaten a big hand full.  Oh well, enjoy!!


Chocolate-Peppermint Cookies

Yield Makes 6 dozen

Ingredients:
  • 1 cup all-purpose flour, plus more for surface
  • 1/2 cup unsweetened Dutch-process cocoa powder
  • 1/2 teaspoon baking soda
  • 1/2 teaspoon baking powder
  • 1/2 teaspoon salt
  • 2 1/2 ounces (5 tablespoons) unsalted butter, softened
  • 3/4 cup sugar
  • 1 large egg
  • 1 large egg yolk
  • 3/4 teaspoon pure peppermint extract
Optional:
  • 8 large candy canes or 30 peppermint candies, crushed
  • 2 pounds white chocolate, coarsely chopped

Directions:
Preheat oven to 325 degrees. 
Sift flour, cocoa powder, baking soda, baking powder, and salt into a bowl. 
Beat butter and sugar with a mixer on medium-high speed for 1 minute. 
Reduce speed to medium-low, and add egg, then yolk, beating well after each addition. 
Beat in peppermint extract. 
Slowly add flour mixture, and beat until just incorporated. 


Shape dough into 2 disks, wrap each in plastic, and refrigerate until firm, at least 1 hour (or up to 2 days).

Roll out 1 disk of dough on a lightly floured surface to 1/8-inch thickness. Place dough on baking sheet and freeze until firm, about 15 minutes. (NOTE: I skipped this part, and it didn't seem to matter.)
Using a 2-inch round cutter, cut out circles, and place 1 inch apart on parchment-lined baking sheets. Roll and cut scraps once. 
Freeze cookies until firm, about 15 minutes. Repeat with remaining disk.


Bake until cookies are dry to the touch, about 12 minutes. 
Transfer parchment, with cookies, to wire racks, and let cool. (Undecorated cookies will keep, covered, for up to 3 days.)


Sift crushed candy, and separate larger pieces from dust, reserving both. 
Melt chocolate in a heatproof bowl set over a pot of gently simmering water. Remove from heat. 
Dunk cookies into melted chocolate. Using a fork, turn to coat, let excess drip off, and gently scrape bottom against edge of bowl. 
Place on parchment-lined baking sheets, and sprinkle 1/4 teaspoon of either candy pieces or dust on top. Repeat, sprinkling half the cookies with pieces and the rest with dust. 
Refrigerate until set, up to 3 hours. Decorated cookies are best served the same day.
 

Images from me; Martha Stewart; Recipe from Martha Stewart Holiday Cookies 2010 Magazine

06 December 2011

More of Paris in the Winter....

It's gray and rainy outside today. But I'm dreaming of Paris in the winter time again. Hope all of you are keeping warm from the weather. Enjoy!


Images from Pinterest; flickr.com

Red & Golden Holiday Decorations....

Getting into the holiday spirit. Love to decorate this time of the year. Here are some decorating ideas I found. Enjoy!


Images from Pinterest

23 November 2011

Thankful for a Tart....

So that time of the year has come again!  Thanksgiving... or how I call it, Turkey Day!  So what is everyone thankful for this year?  I know I'm always happy for family & friends, and that everyone is healthy & safe.  I'm also very thankful for the yummy food we are having tomorrow (as any foodie would be..lol!).  Well, I wish everyone a happy turkey day and safe travels this weekend.  

Here's a little something to make for your Thanksgiving morning (or any time of the day).  It's really good with tea.  So yummy!  Enjoy!


Italian Almond Raspberry Tart 
(Makes one 9 1/2-inch tart)

Ingredients:
For the Tart Dough:
1 1/2 cups all-purpose flour
1/2 cup powdered sugar
9 tablespoons (4 1/2 oz) unsalted butter, cold and cut into small cubes
1/4 teaspoon kosher salt
1 extra large egg

For the Filling:
8 tablespoons (4 ounces) unsalted butter at room temperature
1-8 ounce can almond paste, broken into 1-inch pieces
1/4 cup granulated sugar
2 extra large eggs at room temperature
1 teaspoon finely grated lemon zest
pinch of kosher salt
1/3 cup unbleached all-purpose flour
1/3 cup raspberry preserves (Note - I used a little more, maybe 1/2 cup)
1/3 cup sliced almonds

Directions:
For the Tart Dough:
  • In the bowl of a food processor, add the flour, sugar, and salt.  
  • Pulse until combined.  
  • Scatter the butter pieces over the flour.  
  • Process in short bursts until the butter is the size of peas.  
  • Add the egg and process in long pulses, about 5-7 seconds until the dough has started to clump.  
  • Place a piece of plastic wrap on the counter and dump the dough onto the surface.  
  • Using the plastic wrap and the back of your hands, gently press the dough into a disk.  
  • Wrap tightly with the plastic wrap and refrigerate for at least 2 hours, preferably overnight.

Preheat the oven to 375º F.  
Remove the dough from the refrigerator.  
If refrigerated overnight, let it rest at room temperature for 10 minutes.  


On a  lightly floured work surface, roll the dough out into a 12-inch circle, flouring the dough and surface as necessary to keep the dough from sticking.  
Roll up the dough around the rolling pin and gently unroll it over an 9 1/2-inch tart pan with a removable bottom.  
Fit the dough into the edge of the pan.  
Roll the rolling pin over the top of the pan to remove the excess dough (let the kids practice their baking skills with the scraps).  
Place the tart onto a baking sheet and refrigerate for at least 30 minutes or place in the freezer for 15 minutes. 


Line the tart pan with aluminum foil and fill with dried beans or pie weights.  Bake for 20 minutes.  Remove the weights and foil and bake for another 3-5 minutes.  Place on a rack to cool.  Reduce the oven temperature to 350º F.


For the Filling:
  • In the bowl of a stand mixer fitted with the paddle attachment, beat the butter until smooth.  
  • Add the almond paste, one piece at a time, beating well after each addition.  
  • While mixing, gradually add the sugar.  
  • Add the eggs, one at a time, beating well after each addition.  
  • Mix in the lemon zest and salt.  
  • Stir in the flour until completely combined.

Using an off-set spatula, spread the preserves evenly over the bottom of the tart shell.  


Place spoonful dollops of the filling over the preserves and gently spread to completely cover the preserves.


Sprinkle the top of the tart with the sliced almonds.  


Bake until the filling is golden brown and firm to the touch, about 35-45 minutes.  
Transfer to a wire rack to cool completely.  
Carefully remove the side of the tart pan and slide the tart onto a serving platter. 


Images from Me; Recipe from The Galley Gourmet
Related Posts Plugin for WordPress, Blogger...