Showing posts with label Food. Show all posts

29 September 2012

Lobster Dinner For Two...

What's for dinner?  Lobster!!  LOL...Well, I've been wanting to attempt to cook lobster for a long time now.  But like most people, I've been really nervous about trying to do it.  Cause they cost too much and it looks hard to do.  Well, we were the store the other day, and I saw them on sale.  So I was like...what the hack!  Let's try it!  So we picked up two lobster tails.  (Thought we'd try doing the tails first before killing a live one...haha...)  Enjoy!!


 Steaming Lobster Tails
- 1 streamer pot
- 2 lobster tails
- 1 kitchen shears

Marinade:
- melted butter
- dash of paprika
- dash of garlic powder
- squirt of lemon juice
- dash of white pepper (or regular black pepper)

  1. Begin the cut right under the shell. Only cut the shell and not the meat. 
  2. Continue to cut down the center all the way to the base of the tale; cutting to base of tail. 
  3. Grab each side of the shell and gently pry away the shell away from the meat.  Continue to pry the shell away from the meat but keep the back of the meat connected to the shell. This will make it easier to eat the lobster once it's cooked.
  4. Prepare lobster marinade of melted butter, a dash of paprika, a dash of garlic powder, a squirt of lemon juice and a dash of white pepper.  Drizzle lobster tail with marinade.  (I didn’t use the paprika, and it was still good.)
  5. Place steamer inside a pan and fill with water so that the base of the steamer is resting in the water. Bring the water to a boil.
  6. Once the water has reached a boil, place lobster tails in the middle and cover.
  7. Cook the lobster tails by the cooking time from the weight. (Note the change from opaque to white means it’s cooked) 
Lobster Cooking Times
For steaming a lobster tail
Lobster Tail Weight
Cooking Time
2 Oz.
10 minutes
4 Oz.
12 minutes
6 Oz.
15 minutes
8 Oz.
20 minutes
12 Oz.
25 minutes
14 Oz. +
30 minutes


Images from Me; Recipe from Lobster Help.com

09 September 2012

Red Raspberries on a Sunday...

Baking on a Sunday... So I've been trying to find a recipe on how to make a french type raspberry tart.  But I haven't been able to find one.  So I've put together a recipe from other recipes with all the parts that I know from the tasty little french raspberry tart that I know and love.  The only thing I couldn't get right on was the raspberry glaze wasn't fully shining and set harder.  But it still tasted awesome!  My hubby gave it two thumbs up, so it that made my happy.  If anyone knows how to get the glaze that way it should be or has another recipe, please share!  Enjoy!


French Raspberry Tart

- Sweet Tart Dough
(Williams-Sonoma: The Weeknight Cook)
(1 dough disk)
1 cup flour
1/9 cup powered sugar
1/2 cup unsalted butter
1/9 cup ice water

In a food processor, combine the flour, sugar, and butter.  Pulse just until the mixture forms coarse crumbs about the size of peas.  Drizzle the ice water over the flour mixture and process just until fine crumbs form.  Transfer to a lightly floured work surface and press into a disk.  Wrap each dough disk in plastic wrap and refrigerate for 30 minutes before using.

- Pastry Cream (Creme Patissiere)
(Laduree - Sucre The Recipes)
Makes 5 cups | Preparation:30 minutes | Cooking time: 5 minutes
1 vanilla bean
1 2/3 cups whole milk
4 eggs yolks
1/2 cup - 1 tbsp granulated sugar
1/4 cup cornstarch
2 tbsp butter

1) With a sharp knife, slice the vanilla bean in half lenghtwise.  Using the tip, scrape the interior to remove the seeds.  Pour the milk into a saucepan and add the vanilla pod and seeds.  Bring to a simmer.  Remove from heat, cover immediately and allow to infuse for 15 minutes.
2) In a large bowl, whisk the egg yolks and sugar until slightly pale.  Incorporate the cornstarch.
Remove the vanilla pod from the saucepan and reheat the milk, bringing to a simmer.  Pour a third of the hot milk over the egg yolk, sugar and cornstarch mixture (to temper the yolks).  Whisk together and pour the whole mixture back into the saucepan.  Bring to a boil while stirring with a whisk, making sure to scrape down the sides of the pan with a spatula.
3) Remove from heat and pour the cream into a clean bowl.  Allow to cool for 10 minutes so that it is still hot but not boiling.  Incorporate the butter while stirring.  Cover the bowl with plastic wrap until ready to use.

- Raspberry Glaze
(Sarabeth's Bakery & pillsbury.com: raspberry-glazed double chocolate dessert recipe)
2 containers fresh raspberries (6 oz.)
3 tbsp sugar
1/4 tsp vanilla extract
1 tbsp cornstarch

1) Combine the raspberries, sugar, cornstarch, and vanilla in a nonreactive small saucepan.  Cook over medium hear, stirring occasionally to dissolve the sugar, until the berries have cooked down and they come to a boil.
2) Transfer to a fine-mesh wire sieve set over a bowl.  To remove the raspberry seeds, use a silicone spatula and rub the berries and juices through the sieve.  Transfer the sauce to a covered container to store till ready to use.

- Extra raspberries for decoration

Directions:
1) Create the dough.  Preheat the oven to 425 degrees F.  On a lightly floured work surfaces, roll out the dough into a 10 1/2-inch round.  Fit into a 9 1/2-inch tart pan with a removable bottom.  (I used a ceramic tart pan.)  Fold the overhang over itself and press into the sides of the pan to make a sturdy rim.  Freeze for 5 minutes.  Take a fork and make some holes to let steam out.  Then cut a round piece of parchment paper and place on top of the dough.  Then add pie weights (or beans) on top of the parchment paper to use as weight.  Bake the tart dough for 10 minutes until lightly golden.  Then turn to heat down to 400 degrees F. and bake for 20 - 25 minutes until cooked through.  Let tart dough cools completely.

2) Create the pastry cream.  Then place in tart dough.  Place in refrigerator to set. (Set time frame is create the raspberry glaze and let it cool for 15 minutes.)  Then pour the raspberry glaze on top of the pastry cream.  (Then decorate with extra raspberries, if wanted.)


Images by me

01 June 2012

A Chocolate Hazelnut Jubilee....

The Queen's Diamond Jubilee starts tomorrow.  So in honor of the Jubilee, I decided to make another cupcake from the Hummingbird Bakery cookbook.  Nothing like tea and cupcakes for your afternoon tea.  Enjoy!


Hazelnut & Chocolate Cupcakes 

(Makes 12)

Ingredients: 
Cupcake:
3/4 cup plus 1 tablespoon all-purpose flour
2 1/2 tablespoons unsweetened cocoa powder
a scant 3/4 cup sugar (just put a little less in the third 1/4 cup)
1 1/2 teaspoons baking powder
a pinch of salt
3 tablespoons room temperature butter
1/2 cup whole milk
1 egg
1/2 cup nutella hazelnut spread
36 whole shelled hazelnuts for decoration

Hazelnut & Chocolate Frosting:
2 cups confectioners sugar, sifted
5 tablespoons unsalted, room temperature butter
2 tablespoons whole milk
1/2 cup nutella hazelnut spread

Directions:
  1. Preheat oven to 325 degrees.
  2. Put flour, cocoa, sugar, baking powder, salt, and butter in an electric mixer with a paddle attachment and beat on slow speed until you get a sandy consistency and everything is combined.
  3. Slowly pour the milk into the flour mixture, beating well until all the ingredients are well mixed. Add the egg and beat well.
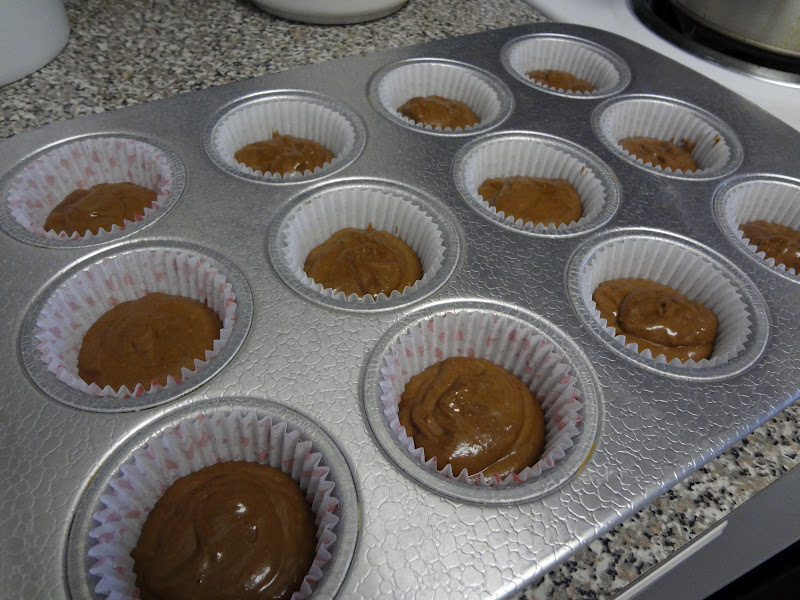
  4. Spoon batter into the paper cupcakes holder up to two-thirds full and bake in the preheated oven for about 20 minutes, or until the cake bounces back when touched. The let the cupcakes cool completely.
  5. When the cupcakes are cold, hollow out a small section in the center of each one and fill with a dollop of hazelnut and chocolate spread.

For the hazelnut & chocolate frosting:
  1. Beat the confectioners sugar and butter together in an electric mixer with a paddle attachment on medium-slow speed until the mixture comes together and is well mixed.
  2. Turn mixer down to a slower speed. Slowly pour in the milk, then when it is all incorporated, turn the mixer up to high speed. 
  3. Continue beating until the frosting is light and fluffy, at least 5 minutes. The longer the frosting is beaten, the fluffier and lighter it becomes.
  4. Stir in the hazelnut and chocolate spread by hand until evenly mixed into the frosting. When the cupcakes are cold, spoon the frosting on top and finish with about 3 hazelnuts per cupcake.

Images by me; Recipe from the hummingbird bakery cookbook

13 December 2011

Holiday Entertaining - Sugar Cookies....

So I was having trouble with making sugar cookies. I know, I know. It's sugar cookies how hard could it be. Well, let's just say I couldn't find a good one until now. This recipe is from the Williams-Sonoma Holiday Entertaining book. Great book! However, I did have to modify the recipe a little. It had NO vanilla in the recipe! Who doesn't that?! My hubby said, "It's not a sugar cookie without vanilla in it." I have to agree with him. The vanilla made the cookie. Also, I didn't want a cookie that was made with shortening. (Yuck!) But these cookies were just what I was looking for. So I had to share. Happy baking! Enjoy!


Sugar Cookies

Make about 36 cookies (depends on the size of cookie)

2/3 cup unsalted butter, at room temperature
½ cup granulated sugar
1 large egg
1 teaspoon vanilla
1 ¾ cups all-purpose flour (plain)
½ teaspoon baking powder
¼ teaspoon salt

Preheat oven to 400 degrees. Have ready 2 baking sheets with parchment paper or ungreased.

In a food processor, combine the butter and granulated sugar and pulse until creamy.
Add the egg and vanilla and pulse 5 or 6 times until fluffy and blended.
In a small bowl, whisk together the flour, baking powder, and salt.
Add one-third of the flour mixture to the food processor and process until blended, about 45 seconds.
Add the remaining flour in two batches, processing after each addition, until dough is smooth.

Note: It doesn’t have this in the original recipe, but you should refrigerate the dough for 20 minutes or so. This way the dough will be easier to work with and not so sticky cause it’s too warm. So after the dough is smooth, turn out the dough onto some paste wrap and separate the dough into two disks. Then refrigerate.

Turn the dough out onto a well-floured work surface, shape into a ball, and then roll out 1/8 inch think.
Using cookie cutters, cut the dough into desired shapes.
Then, using a spatula, transfer the cutouts to the baking sheets. Gather up the dough scraps and repeat the process to make more cookie cutouts to add to the baking sheets.

Bake until lightly browned on the bottom and pale golden on top, 6-8 minutes.
Transfer to wire racks and let cool on the baking sheets for 5 minutes. Then transfer to the racks to cool completely.

Note: Remember to decorate with sprinkles before going into the oven. Or decorate the cooled cookies with Royal Icing.


Image from Me; Recipe from Williams-Sononma cookbooks at Barns & Noble

07 December 2011

Chocolate-Peppermint Heaven....

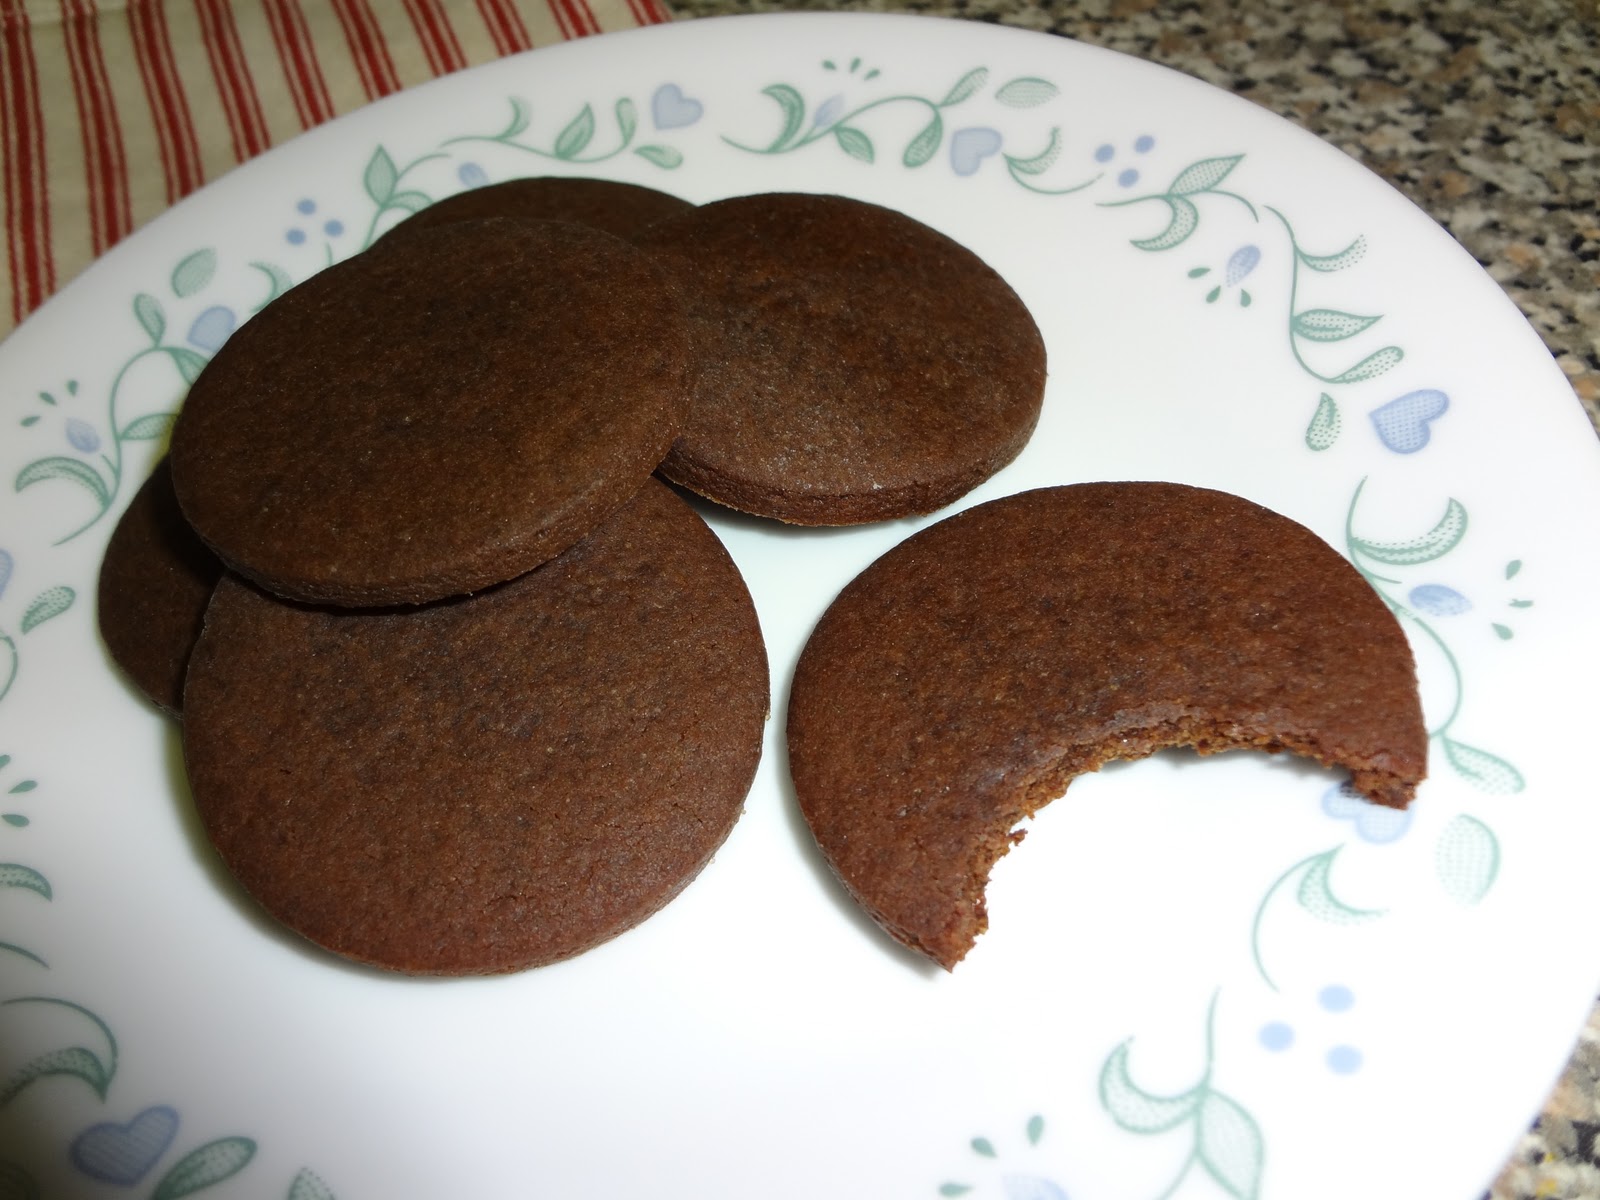
So I was thinking about what types of Christmas cookies to make this year.  I'll still make gingerbread, but I wanted to try something new.  I remembered there was a cookie in the Martha Stewart Holiday Cookie magazine last year that I wanted to try.  It looks just like a Thin Mint cookie but covered with white chocolate.  Lets just say that after making this cookie tonight, I have finally found the recipe for making Thin Mint cookies!!  The only thing is I didn't have any white/dark chocolate to cover the cookie.  So it's plain, but it tastes so good!!  And... I've already eaten a big hand full.  Oh well, enjoy!!


Chocolate-Peppermint Cookies

Yield Makes 6 dozen

Ingredients:
  • 1 cup all-purpose flour, plus more for surface
  • 1/2 cup unsweetened Dutch-process cocoa powder
  • 1/2 teaspoon baking soda
  • 1/2 teaspoon baking powder
  • 1/2 teaspoon salt
  • 2 1/2 ounces (5 tablespoons) unsalted butter, softened
  • 3/4 cup sugar
  • 1 large egg
  • 1 large egg yolk
  • 3/4 teaspoon pure peppermint extract
Optional:
  • 8 large candy canes or 30 peppermint candies, crushed
  • 2 pounds white chocolate, coarsely chopped

Directions:
Preheat oven to 325 degrees. 
Sift flour, cocoa powder, baking soda, baking powder, and salt into a bowl. 
Beat butter and sugar with a mixer on medium-high speed for 1 minute. 
Reduce speed to medium-low, and add egg, then yolk, beating well after each addition. 
Beat in peppermint extract. 
Slowly add flour mixture, and beat until just incorporated. 


Shape dough into 2 disks, wrap each in plastic, and refrigerate until firm, at least 1 hour (or up to 2 days).

Roll out 1 disk of dough on a lightly floured surface to 1/8-inch thickness. Place dough on baking sheet and freeze until firm, about 15 minutes. (NOTE: I skipped this part, and it didn't seem to matter.)
Using a 2-inch round cutter, cut out circles, and place 1 inch apart on parchment-lined baking sheets. Roll and cut scraps once. 
Freeze cookies until firm, about 15 minutes. Repeat with remaining disk.


Bake until cookies are dry to the touch, about 12 minutes. 
Transfer parchment, with cookies, to wire racks, and let cool. (Undecorated cookies will keep, covered, for up to 3 days.)


Sift crushed candy, and separate larger pieces from dust, reserving both. 
Melt chocolate in a heatproof bowl set over a pot of gently simmering water. Remove from heat. 
Dunk cookies into melted chocolate. Using a fork, turn to coat, let excess drip off, and gently scrape bottom against edge of bowl. 
Place on parchment-lined baking sheets, and sprinkle 1/4 teaspoon of either candy pieces or dust on top. Repeat, sprinkling half the cookies with pieces and the rest with dust. 
Refrigerate until set, up to 3 hours. Decorated cookies are best served the same day.
 

Images from me; Martha Stewart; Recipe from Martha Stewart Holiday Cookies 2010 Magazine
Related Posts Plugin for WordPress, Blogger...